Table of Contents
Tas-Sign v1.03
| Company | Tasman Software Ltd |
|---|---|
| Distributor | Tasman Software Ltd |
| Year | 1987 |
| Packaging | Hard plastic case |
| Compatibility | PCW 8256 - PCW 8512 - PCW 9512 |
| Peripherals | Keyboard |
| Load | CP/M+ |
| Gender | Poster design |
| Language | English |
| Price | England: £29.95 |
| State | Preserved |
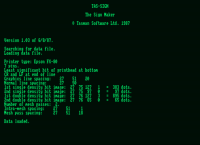
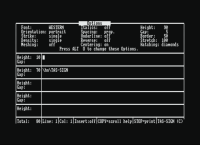
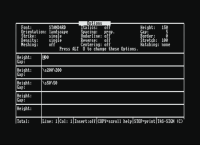
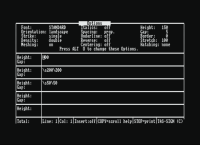
Screenshots
Description
The Tasman Company stood out in the utility market for a continued effort to offer somewhat spectacular, albeit minority, software. This time we are talking about “Tas-Sign”, a program to make posters and large signs.
It is a program for CPC 6128 and PCW 8256 and 8512, since it works under CP/M Plus and it is mandatory to have a matrix printer, since the posters are generated directly on it, without creating screens that can be used as such.
Its reason for being is to produce large signs in a wide variety of sizes and styles, making it possible to use them for banners, posters, signs, designs, headings and everything related to the above. Its manual is a little gem and makes a fairly complex process that can be assimilated after a few minutes of fiddling with the program. Following their indications it is relatively easy to “build” the posters that we want. To get to this point, you have to follow the tutorial instructions step by step, which, being in English, can make us doubt at certain times.
The first action to take is to make a backup, since the computer is constantly loading parts of the program and we should not risk having a failure in the original disk. Even that, how to make such a copy, is detailed in the manual for each of the computer models. This also allows us to delete the configuration files that take up a lot of space and thus save space on the disk to save some of the text files that we make. Later we will see the advantage that this entails.
Once we are working with the copy we will have to configure the TAS-SIGN according to our printer. Here comes another surprise, since we are offered a menu with 32 models so that we can locate them or try to find a similar one. They are the most common on the market, but if they were not, we go to a section where they request their data and the program creates a file with them, including them in the list. Once this phase is finished, the successive times that we use this label generator we will not have to go through the configuration. If one day we change the printer we would have to make a new copy of the original and carry out the new configuration on it.
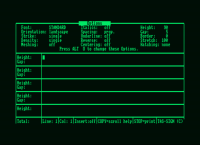
Let's suppose that we already have the program ready and we want to load it to start working with it, which is logical because of anxiety and the like. craving and the like. Those who have a CPC 6128 will be forced to load the CP/M before, since the disk does not have it. We type TS after the inductor and a screen reminds us what type of printer it is prepared for, its characteristics and, finally, it gives way to the main screen, which will always remain before our expectant gaze. Two clearly differentiated parts can be seen with the naked eye: the upper one, full of orders, and the lower one, the lines where we will write the texts. From the outset, the cursor is on the first line of the text sector, waiting for us to enter the desired word or phrase. Once typed to print it by printer we must press STOP for PCW and ESC for CPC.
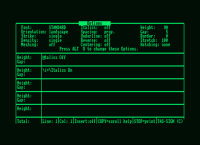
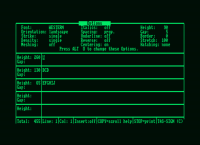
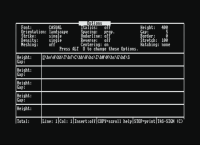
The menu offers the possibility to change a good number of parameters. This area is accessed by ALT plus O on PCWs and CONTROL plus O on CPCs. Four fonts are loaded with the program. One of them, the so-called “Block”, carries with it a greater width of the characters, so sometimes not all the text enters. There is also a test with “Italic” option that can be applied to any of the fonts, as well as the one to invert the background and the ink, so that the letters turn out white on a black background. All these variations, along with printing horizontally or vertically, double density, three types of letter spacing, underlining, centering the text on the page and patterns, which we will talk about later, are in this first menu that appears. automatically charging, but there are three others that we can select by pressing the COPYA key (both in CPC and in PCW).
The second menu is a real word processor that will avoid us having to type again those that are not to our total liking. We will be able to insert characters, words or lines, move part to the right or left, go to the end of the line, to the beginning, to the beginning of the screen, to the end, delete lines and some other utilities. If our text is long, we will check and appreciate its usefulness. The third menu is very important, since it contains a series of commands that, interspersed in the texts, make it possible for us to change all the existing and future parameters within the same line. With them it will be possible for a sentence to start with the font “Casual”, then change to “Western” and increase or decrease the size of the characters, then the next word is written in “Block”, in addition to “Winter”, and thus all the possible combinations, which are many, as many as the main menu offers. The fourth is a catalog of the disk to see what source-files we have on it.
Now we come to the subject of the plots, which dramatically increase the possibilities of the program. We could compare them to a “fill” that we do with the printer in the characters. These are configured with the chosen plot, so that we have the power to have words or characters made with vertical, horizontal lines, inclined to the left, to the right, with squares, rhombuses, diagonal grid or orthogonal grid. All this about generalities, because there are a lot of details that need to be commented one by one. We have two different ways of making the posters regarding the orientation of the text on the paper: horizontal or landscape. Each of them has its advantages and it already depends on what we want to do. It goes without saying that a long letter sign in wide format could only be made in landscape.
For those who feel overwhelmed by a certain uneasiness when faced with respectable programs, as in this case, I point out that there are several perfectly explained examples on the disc and that, when loaded, they dissipate virtually all questions. The words can be printed so that the letters always keep the same distance from each other, but also in two other different modes, “Proportional” and “Kern”, which achieve very interesting effects and allow even more variety.
Another command makes it easy to vary the spacing between lines, so that, even if the letters are large, the distance between lines is not related to that size. The program has control over the operations through thirteen error messages that cover all the events where we could make a mistake. The messages are also in English, as expected, and if you are not an expert in this language, you have to grab the dictionary in a couple of cases to find out the reason for the failure. A very interesting section of the manual is the part that explains how to configure TAS-SIGN for printers that are not on its list. There are ten detailed steps that no one will have a problem following. The program has a character table in which those numbered from 128 to 254 are specifically created by TAS-SIGN. It's a way of having accented letters, math symbols, and lots of quaint signs for posters..
Conclusion
TAS-SIGN comes to fill a position that fans of drawing and posters have always had vacant. Its use is easy if from the first moment we follow the manual and forget the disastrous habit of skipping pages to get to the end before.
In this version, choosing a vertical screen produces a horizontal screen on the printer, and the same happens the other way around. It is not very important but it would be convenient to correct it in future editions. The program, as we have said before, must be in the reader/writer all the time, because from time to time data captures are made according to the parameters that we use. If we store our texts on another disk and if we forget to restore the program to the reader and try to do some operation, the computer simply freezes. Finally, just say that it is a good program that works quickly and should not be missing in the library of lovers (and even of those who are only good friends) of computer design and drawing.
Packing
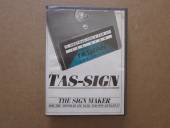
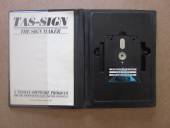
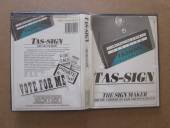
In the following images you can check the original packaging.
Coming soon
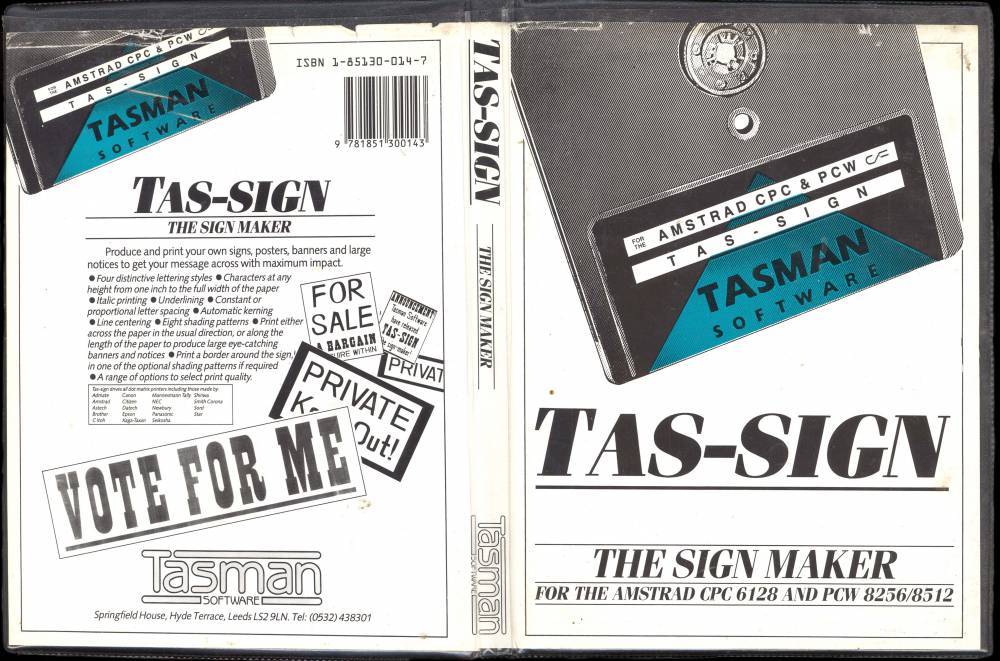
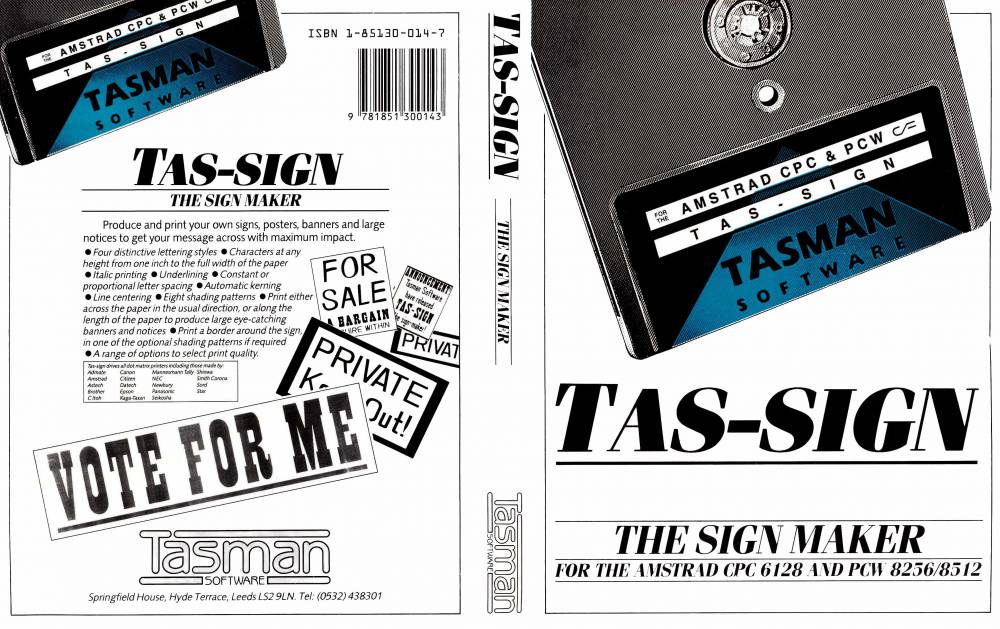
Cover
- Here you have the original cover.
- Here you have the restored cover.
Actual measurement of the cover: Width: 33.40 cm x Height: 20.80 cm
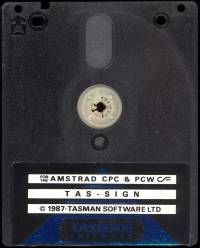
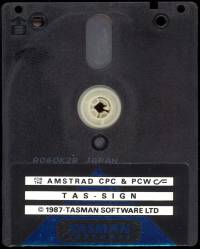
Disk
Labels
Coming soon
Extras
Coming soon
Download
Program
The disk images, have been obtained from the original version of Tas-Sign, have been recorded and verified.
- Tas-Sign v1.03 (Compressed .DSK file in ZIP format)
Manual
Below you can download the Tas-Sign program manual or view it online. The manual sheet measures: Width 14.40 cm x Height: 20.50 cm
- Tas-Sign Manual (PDF File)

