Table of Contents
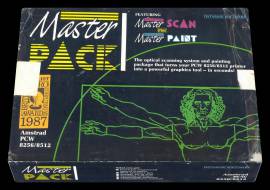
MASTER PACK
| Company | Database Software |
|---|---|
| Distributor | Database Software |
| Year | 1987 |
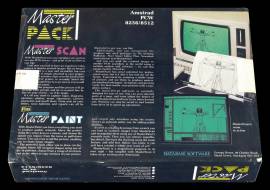
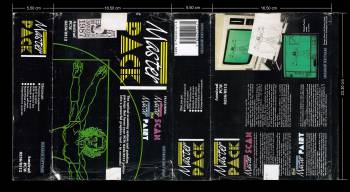
| Packaging | Inner and outer cardboard box 23.30×16.50×5.50 |
| Compatibility | PCW 8256 - PCW 8512 |
| Pack | Master Scan & Master Paint |
| Hardware | PCW Printer - Scanner |
| Compatibility | AMX Mouse, Electric Studio Mouse o Kempston Mouse |
| Carga | CP/M |
| Language | English |
| Price | Spain: 25,500 Ptas. England: £79.95 |
| State | Preserved |
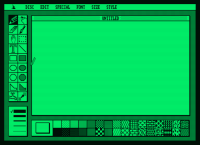
Screenshots
Description
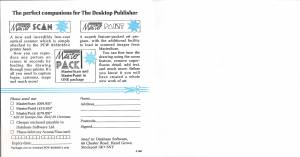
Composed of MasterScan and MasterPaint, the right mix of software and hardware to digitize images.
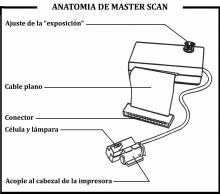
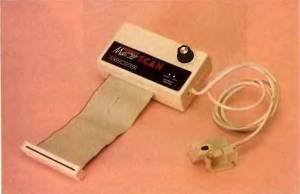
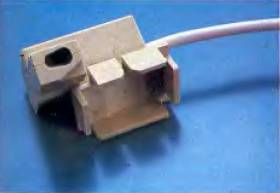
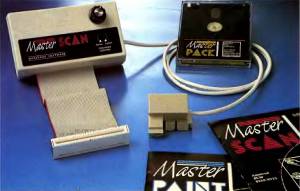
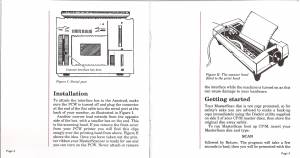
Enclosed in a cardboard box we find a strange contraption made up of a long cable, at the ends of which is a box with a connector for the PCW expansion bus, on one side, and a cap for the printer head, on the other. other. In this cap there is a small bulb and an optical sensor, a couple that is responsible for generating light electrical signals proportional to the darkness of the image that is located in the printer carriage.
There are also two manuals and a floppy disk in the box. One manual is for MasterScan, the software to control the scanner, and the other is for MasterPaint, the drawing program. The two programs are on the diskette, one for each side.
MasterScan couldn't be easier to use; guided by a menu, we choose an option with the cursor keys by its initial, and we activate it by pressing ENTER. If we access a submenu, we can return to the main menu with SAL. In fact, the only problem in handling the scanner is adjusting for each new image the sensitivity control found in the box directly connected to the expansion bus. At first it is a bit difficult to control the intensity of the image capture, but with a little practice and patience it becomes easy.
The main menu options are: Scan Image, View Image, Print Image, Magnification Level, Start Column, End Column, Screen Colors, File Management, and Return to CP/M.
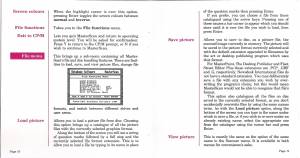
If we choose file management we go to a second menu that includes the options load image, save image, view image, disk directory, image format, file ordering, selected unit, user area and exit to the main menu.
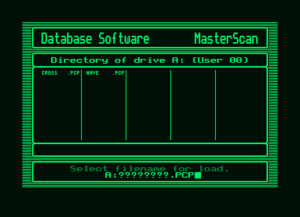
In all cases of file management we can enter the name of the file to load/save or choose it with the cursors of the names that appear in the directory, which is quite comfortable.
The file format option allows us to choose between four formats: the one used by MasterPaint, the one used by Fleet Street Editor, the one used by Newsdesk and the one used by Desktop Publisher. These last three programs are page editors. In this way we can integrate the images captured by the scanner in any of these four programs and, in addition, in the Digital Research Logo, since it uses the same format as the Newsdesk program.
Master Scan
It is rather a program that complements others, such as Desktop Publisher, rather than its own application. The software by itself is of no use, unless it is used to change graphic file formats. Along with the program, never sold separately, came an image scanner to put in the printer.
With the software and hardware, only the installation and preparation of the blade remains. We are going to explain step by step how to prepare the image to digitize it.
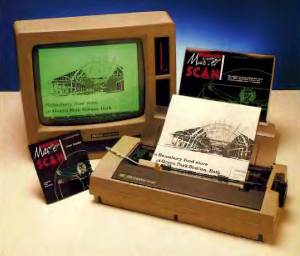
1. Before you start scanning, you need to prepare the printer for chart reading. To do this, you must first remove the tape cartridge from the printer and then insert the page containing the graphic with the image facing us.
Once all the previous steps have been carried out, the scanner's reading head (optical sensor) is placed, adapting it to the printer's head.
2. The printer and the page containing the image are now ready to be digitized, now the program must be prepared to adapt it to this image. To do this, the SCAN program (side B of the disc) must be executed. The main menu is divided into eight options:
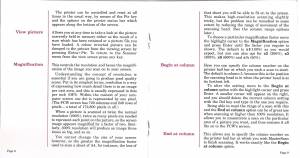
Scan picture. This option will take care of activating the scanner to read the image. During the process of reading the page, the process can be stopped by pressing the STOP key. It will then ask if you want to save the digitized image piece by pressing K for Keep or delete it with S for Scrap.
View picture. Once the image has been digitized it is stored in memory. This option displays the content on the screen.
Magnification. Its use is related to the image enlargement options used by drawing and desktop publishing programs. It allows you to enlarge the image that is being digitized, but it does so at the time of reading. Never after having stored it in memory. The scales that it allows are X1, the one normally digitized; X2, twice; X3 tripled; X6, six more times, and finally one to reduce X1/2, digitizes the image to half its actual size. It can happen, especially if a large enlargement is made, that the digitized image part is not the desired part. This is due to the way of digitizing: when you enlarge the image, it takes the upper left side as its starting point. Based on this point, when we make an enlargement we will place the part to be enlarged as close as possible to this point.
Begin at column. Places the read head on the specified column. By default, and as usual in most programs, it starts in column 5.
End at column. Its function is the same as for the previous option, but on the opposite side, that is, it marks the last column to be read. By default, and also as a rule, it is 80.
Screen colors. Its defect is only on screen: it inverts the colors of the background to pass it to reverse video.
File functions. It takes care of everything related to file management: Load pictures, loads a file, Save picture, saves a file, View picture, just like in the main menu it shows the image, Catalog Disc, gives a list of all the files disc. The rest of the options affect the operation of the previous ones:
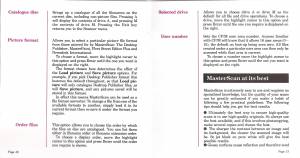
Picture format. Select the type of format to which it will be transformed. Allows adaptation to Master Paint, Fleet Street Editor, Newsdesk and Destop Publisher.
Order files. Sorts files, when a disk catalog is requested, by name or extension.
Select drive. Select the reading unit. This can be A, B and M.
User number. Select the user area where the information is to be read or stored. By default it is zero, although we can define up to area 15.
So far all the possibilities of Master Scan have been mentioned, now all that remains is to select the most suitable options to digitize the image.
Master Paint
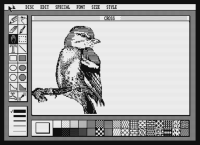
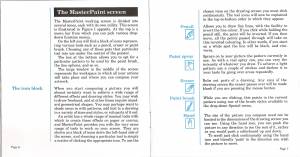
On the other side of the disc (Side A) we find MasterPaint, a pixel-oriented drawing program controlled by the WIMP System, similar to that used by the GEM of the PC1512. We have an arrow-shaped cursor. Although it is manageable with a mouse (AMX, Electric Studio or Kempston). With the ALT key and the cursors we can simulate a mouse, a mode that is too slow.
Many drawing program options are represented by icons, and some of them are found in menus that appear when you point to one of the words written at the top of the screen.
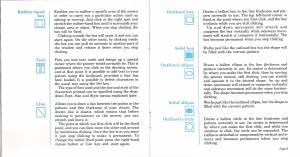
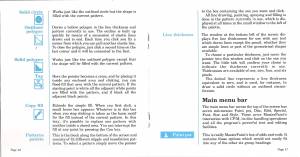
With this program we can draw with different thicknesses of pencil, various sprays, use the eraser, paint with various brushes, move the work window over the total drawing, mark an area to cut and move, enter text, draw straight lines, empty and filled squares, ellipses, circles, polygons, fill surfaces with patterns, capture patterns of the drawing itself.
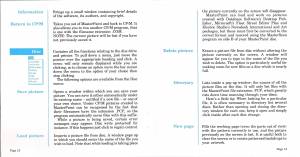
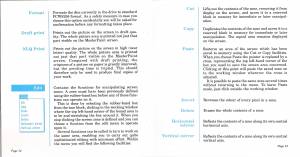
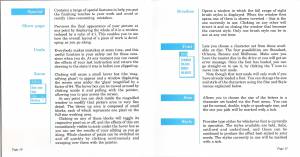
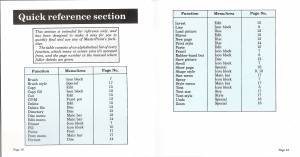
In the hanging menus that hang from the words located at the top of the screen we find options to load and save files, delete them from the disk, obtain the directory, delete the drawing from the screen, format disks and remove the drawing from the printer, in high or low quality, cut and copy areas of the drawing, invert an area, erase it, mirror vertically or horizontally, show the entire drawing, undo the last operation, zoom, brushes, select a character font between four. In short, a wide range of possibilities that will allow us to create our own drawings or modify screens captured with MasterScan with minimal effort.
Packing
In the following images you can check the original packaging, the actual measurements of the box, which contains a 1.40 cm tab (fin) for those who want to print the box open.
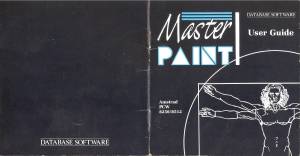
Cover
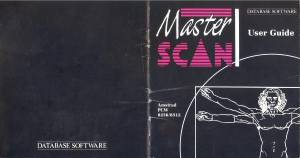
Manuals
Master Scan
Measurements: Height: 13.70 cm - Width: 13.00 cm
Master Paint
Measurements: Height: 13.70 cm - Width: 13.00 cm
Disks
Labels
Custom labels to print. Over the years due to their use, the labels are damaged and lose their color and quality. Now we try to adapt the most similar to the extent of our possibilities, the labels so that they can be printed and replaced or for those of you who work with a copy of the program and preserve the original disc. 1.- Original label 2.- Label for 3“ disc 3.- Label for 3.5” disc. Measurement in 3“ height: 7.00 cm - width: 7.10 cm.
Extras
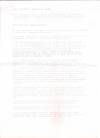
Below you have the original and in DIN-A4 format: 1.- Master Scan calibrated sheet. 2.- (MasterScan Manual translated into Spanish (pages 2 and 3) 3.- Master Paint Manual translated into Spanish. (Although it is not well appreciated due to the yellow color of the paper and the loss of quality over the years, if you enlarge it you will see it with better quality).
Download
The disc images, obtained from the original version of Masterpack, have been recorded and verified.
- Masterpack (Compressed .DSK file in ZIP format)


