Table of Contents
MASTER SCAN
| Company | Database Software |
|---|---|
| Distributor | Database Software |
| Year | 1987 |
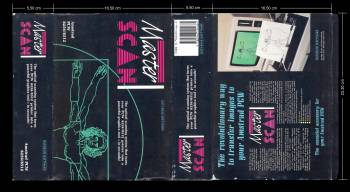
| Packaging | Inner and outer cardboard box 23.30×16.50×5.50 |
| Compatibility | PCW 8256 - PCW 8512 |
| Peripherals | PCW Printer - Scanner |
| Load | CP/M |
| Gender | Graphic design |
| Language | English |
| Price | England: £69.95 |
| State | Preserved |
Screenshots
DESCRIPTION
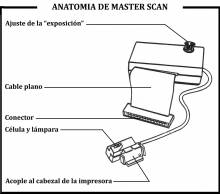
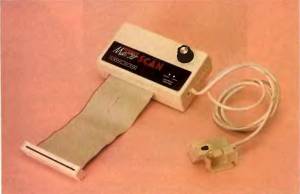
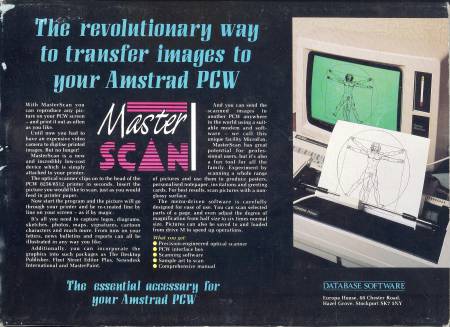
The Master-Scan is the ideal complement for digitizing images. It consists of an optical sensor and an interface that connects to the PCW expansion socket, located on the back of the computer. The interface must be placed with the computer switched off.
Scanned images are compatible with Desktop Publisher, Fleet Street Editor Plus and Newsdesk International desktop publishing programs.
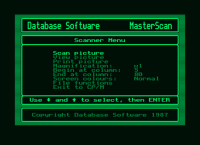
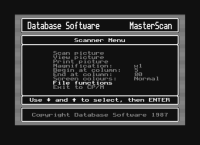
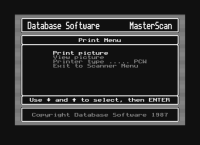
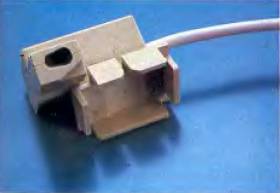
To use this digitizer, the PCW printer must be prepared by removing the two covers and the ribbon replacement. The drawing to be digitized is placed on the printer roller and the paper loading lever is pressed, which automatically loads the drawing into the printer. The sensor is then placed on the head of the printer, with which the scanner is ready to work. The CP/M+ operating system disk is inserted and when it is loading, the disk with the scanner program is inserted, then typing “SCAN” and pressing the “Enter” or “Return” key. After a while a menu will appear with the following options.
- SCAN PICTURE, with this function the scanner will start to read the drawing.
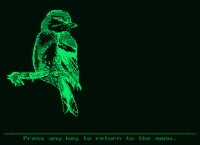
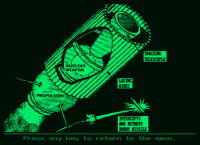
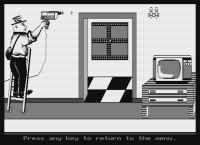
- VIEW PICTURE. Choosing this option you can see the drawing that is in the memory of the computer.
- MAGNIFICATION. Here comes into operation the ZOOM and we can choose between several different levels of image enlargement.
- BEGIN AT COLUMN AND END AT COLUMN. With these two options you choose the beginning and the end of the scanner's reading.
- SCREEN COLOURS. With this function you can choose if you want the screen to work in normal or inverted mode.
- FILE FUNCTIONS. Here you choose the functions of the disk.
- EXIT TO CP/M. This option is for if we want to exit the program and return to the operating system.
When the scanner is working we can stop it by pressing the “STOP” key. Here it gives us to choose if we want to save or delete the drawing, if we want to save it we will press the “K” key (KEEP) and if we want to delete it we will press the “S” key (SCRAP).
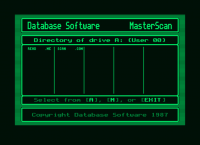
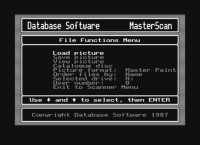
If we choose the disk functions section, another menu will appear on the screen with the following functions:
- LOAD PICTURE.
- SAVE PICTURE.
- VIEW PICTURE.
- CATALOG DISC (Disk directory A, B or M).
- PICTURE FORMAT. It is used to choose the type of drawing format to use with the types of desktop publishing programs mentioned above.
- ORDER FILES BY: Here the name of the program is placed.
- SELECT DRIVE. With this option you select which disk unit you want to work with (A, B or M).
- USER NUMBER. Number of username. You can choose a number between 0 and 15, which are the ones accepted by CP/M.
- EXIT TO SCANNER MENU. With this option we return to the main menu.
As we have said before, the files (drawings) read by the scanner can be used with various types of desktop publishing programs. The filename extensions are as follows:
* With Desktop Publisher it is .GRF.
- With Fleet Street Editor Plus it is .G.
- With Newsdek International there is no extension.
If you want to use it with the Master Paint drawing program, use the .PCP extension.
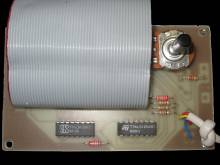
NOTE: The control found on the interface is the sensitivity regulator of the optical sensor. This control is regulated when the scanner is working.
PACKING
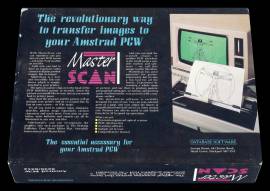
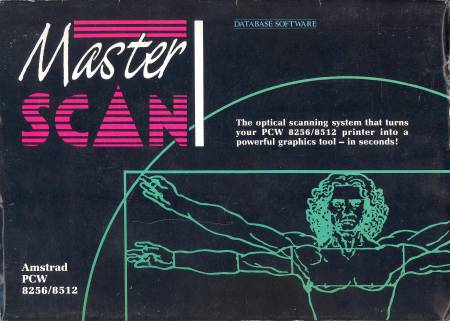
COVER
MANUAL
Below is the manual printed on double-sided color glossy paper. Its measurements are Height: 13.70 cm x Length: 13.00 cm per sheet.
DISCS
LABELS
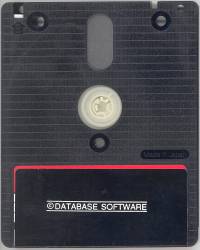
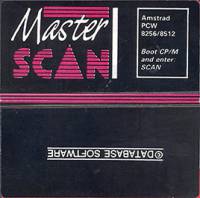
Custom labels to print. Over the years due to their use, the labels are damaged and lose their color and quality. Now we try to adapt the most similar to the extent of our possibilities, the labels so that they can be printed and replaced or for those of you who work with a copy of the program and preserve the original disc. Measurement in 3“ height: 7.00 cm - width: 7.10 cm. The first image corresponds to the original game label, the second is the same label modified to replace the broken one and the third and fourth images are for 3.5“ discs.
EXTRAS
Images of the internal plate on both sides, showing the components that make up this device.
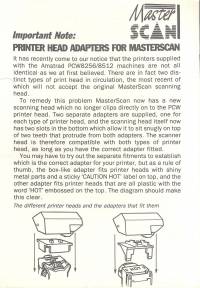
Below are the instructions for the scanner adapters to different types of printer. They are printed on a sheet of thin cardboard in black and white on one side and their measurements are; Height: 14.70 cm Width: 10.30 cm.
Advertising
Some advertisements for the program in high-circulation magazines of the time.
DOWNLOAD
Program
The disc images, obtained from the original version of Master Scan, have been recorded and verified.
- Master Scan (Archivo .DSK comprimido en formato ZIP)
Manual
Below you can download the manual or instructions for the Master Scan program or view it online.


