Light Pen
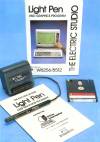
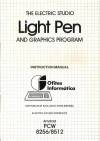
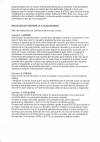
Light Pen The Electric Studio is a peripheral that provides the PCW with a light pen through its rear interface, which allows us to draw with adapted programs.
Packaging
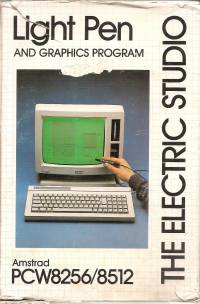
Although the intention of Amstrad was to give the PCW an image of a typewriter, the truth was that the PCW's 8256/8512/9512 they were good computers, and as such they were capable of performing tasks typical of other similar ones. To prove it, the English firm “The Electric Studio” developed this stylus to make drawings on the PCW's monochrome screen.
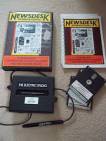
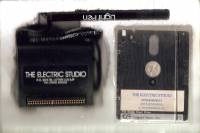
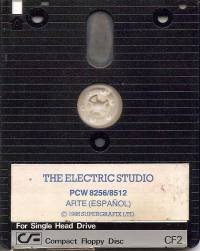
The light pen included an interface that connected to the computer's rear expansion bus, with a cable linking it to the light pen itself. For its use, a disk with software was also included, which allowed not only the drawing of strokes, but also to complement it with different plots and geometric figures. Of course, it was possible to save the created drawing to a disk file, or dump it onto the printer.
Images
Description
Ofites Informática presented another of its peripherals aimed at developing graphic capacity, it is the Electric Studio Light Pen, which is accompanied by a program developed by Supergrafix Ltd.
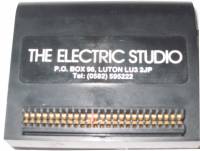
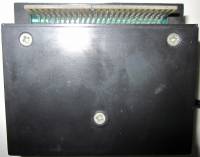
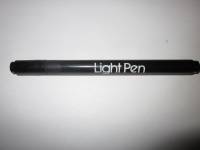
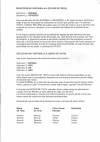
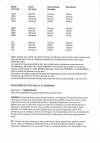
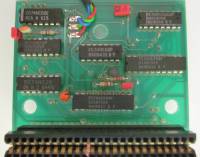
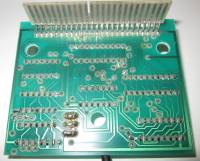
The kit consists of a light pen and a small interface that plugs into the expansion port. Regarding the pencil, it has its cap to prevent small objects from entering that obstruct the passage of light. And about the interface, the connection is made without any problem, although its shape makes it fit somewhat crooked. It has a duplicate expansion port behind it, but the instructions say not to connect anything. The cable is long enough to be able to operate comfortably.
To begin with, given the structure of the supplied graphics program, the instructions are practically unnecessary. Despite this, it is always a good idea to read them before connecting the peripheral.
We will then find the funniest thing in the world of computing: translations. This small manual is translated by ALPHA Translation. In addition to the errors that we can consider normal in these cases, we find terms such as “light pen” to refer to the pencil, or “polarizing key” when talking about the notch that the connectors have and prevent their wrong connection; or just “keys” to talk about the keys. As if this were not enough, we will see the tenses mixed with absolute tranquility.
All in all, this booklet is quite painful, although we don't need more to know how the pencil works. In any case, Ofites could have been in charge of correcting these pages of instructions; As they are, they only need a few panels to be a comic. It is a pity that the program is translated with the same terms, it is even preferable to have it in an English version.
This article perfectly replaces the instructions; We are going to explain the characteristics of the graphic program step by step.
“Rule number one of peripherals: connect them with the computer turned off”. Once rule number one has been applied, just load CP/M and then insert the supplied disk and type “art”. The program will be loaded entirely into memory, so we can now remove the disk to insert the one that will contain the elaborated drawings.
“Number one black mark of all styluses: The screen is clear, and it's annoying without filter glasses.” Discovered the black point number one, which in the PCW manifests itself with a total green screen, we can begin to move through the menu. This appears on the left of the screen, but it does not bother the drawing at all since it is removed when we are drawing.
The different menu options are accessed by pointing at them with the pencil and pressing the space bar. We will hear the typical and annoying beep of the PCW when the election is accepted. To remove it, press the “s” key. When we take an option, it goes to a submenu. This can give another submenu, etc. If we want to go back to the previous one, we will press “CAN”. If, on the contrary, we want to return to the main one, we will press “STOP”. This is a very convenient way to move around the program.
The first thing that appears in the menu is help. “Help” shows on the screen the key combinations that have some purpose in the program, and when they can be pressed (there are only fifteen, and they are learned with practice in a very short time).
The second section of the menu is dedicated to managing the disk: save and load screens, and directory of any drive (A, B or M). The instructions call the directory “guide”. Drawings are saved encoded with length fixed, that is, whatever the complexity of the drawing, its length once recorded on the disk will always be the same. This limits the capacity of the disks quite a bit; a dependent encoding could have been used, as in the case of the DR DRAW program.
The menu dedicated to the printer is really complete for what could be expected from this program: we have vertical, small or normal printing (they are exclusive), But such happiness could not be possible: we have verified that, at normal size, the drawing is vertically elongated. In the other two print modes the error is almost negligible.
Next we have the options dedicated to adding lines, freehand strokes, and various shapes.
“Lines” offers a submenu in which we find “simple lines”, “dotted lines” and “rays”. Simple lines are placed by pressing ALT while moving the pencil to set its starting point, and without ALT to set the other point. The “dotted lines” are not dotted lines (it's another grace of the translation). It refers to linked lines, that is, the origin of one will be the end of the previous one, and so on: Finally, rays are lines with the same point of origin.
The “draw” option contains a submenu with “pen”, brush, “spray”, dots and blank screen. The translation understands “pen” as “freehand drawing”. To do this, press the space bar while drawing. We take this moment to check the accuracy of this pencil. Perfect, until we get closer to the right part of the screen, at which point it deteriorates considerably: the cursor shakes and it is almost impossible to aim at a certain pixel. This zone covers approximately a vertical strip of one sixth of the total. a pity
If we choose the “brush”, the program shows a menu with numbers from one to nine. We must select here the size of the brush, whose result on the screen approximates that of a real brush. Sizes greater than 5 cause a too slow response of the pen. Thickness 2 is, in our opinion, the one that best lends itself to capturing artistic inspirations.
The third option is the “spray”, better known among styluses as spray. We are also offered 9 thicknesses, appropriate together for shading or background with a lot of detail. The result is very uniform.
If we select “points” what we have is… that, points. One for each press of the space bar. If we press it for more than half a second (more or less) the auto-repetition is activated, with which we achieve a “machine gun effect” of continuous points.
And finally, we get to “empty screen”. As a good graphics program, it will ask for confirmation before deleting.
The next main menu item is fill. By taking this option, we will be given to choose one of the… 54! available textures, in addition to the total infill. Pressing the space bar fills the area indicated by the pencil. It is possible to cancel the process.
Under the name of “shapes” there is a submenu that allows you to make normal and three-dimensional triangles, normal rectangles, solids (filled) and also in 3D. It is logical to ask what happened to the solid triangles in this program, but it is also logical that the program does not answer us.
The remaining “shapes” are polygons, from three to nine sides (they will get quite deformed if we make them too big), and circles/ellipses, with any inclination and size, with an extremely simple system of “shaping” them: pressing ALT and moving the pencil to change the diameter; EXTRA to lengthen it (ellipses) and tilt it, and the space bar to fix the figure definitively.
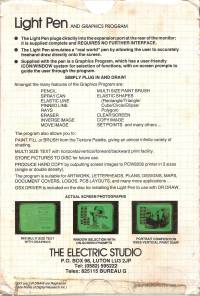
The ability of this program to generate texts is especially striking. If we select “text”, we are offered between “normal text”, “upwards”, “backwards”, and “downwards” (corresponds to turning O, 270, 180 and 90 degrees the text, respectively). We will also have nine font sizes! Size one corresponds to the normal PCW; the nine takes a height on the screen of almost two inches. Just great.
Under this little name we have included the following sections: “utilities”, “ink color” and “ink mode”.
The utilities submenu allows you to move and copy rectangular sectors of the drawing (at the same scale) and “focus”, better known as zoom. The zoom allows to enlarge the image (single scale) to be able to operate point by point.
“Ink color” has, as you might guess in the case of PCW, a few colors: normal (green), and what the program calls “reverse” which we assume means “black” albeit in the style of ALPHA Translation.
Finally, “ink mode” supports the following options: Normal, XOR, ANO, and OR. With this, among other things, we can correct the drawings by erasing details. This is not possible using EXTRA+DEL, a combination that deletes the last thing that was drawn (by the way, the instructions say ALT, not EXTRA).
And here ends the journey through a program, very good in some things, and quite poor in others; We have noticed the lack of facilities such as figure rotation, definition of symbols, graduated zoom, centering… Before buying it, it is advisable to make sure that it is not going to fall short.
Included on the disk is a device driver file that you can refer to as ASSIGN.SYS. The file is called DDESP.PRL and needs the presence of the DDSCREEN.PRL driver on the same disk in order to act. Applied to any program that includes GSX, it allows to handle the graphic cursor (graphic input) with the pencil. The driver also adds the ability to invert the screen colors by pressing “b” during “input”. We tried to include DDESP.PRL in the ASSIGN file applied to Dr. DRAW, along with the printer driver. The result is a much more comfortable handling (DR DRAW is a pain without a pencil). This is not everything; we will be able to use the pencil in programs like CBASIC compiler, which allows us to make compiled programs that accept graphical input with this peripheral.
The GSX implementation is a strong point of this team; if we often work with DR DRAW, the peripheral is worth having.

